
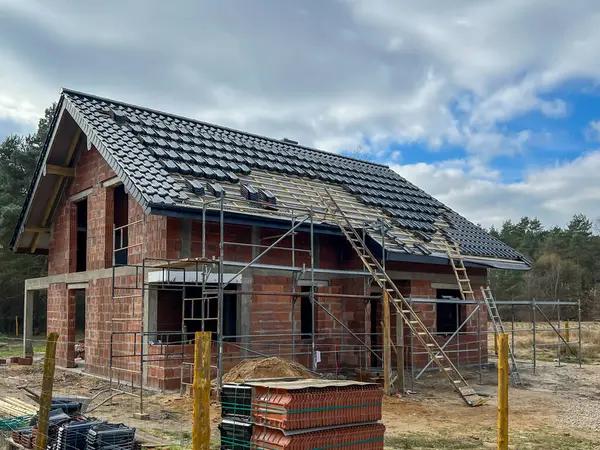
A roof replacement is a significant undertaking that requires careful planning and execution. It’s not just about removing the old shingles and installing new ones; it involves several steps to ensure the process runs smoothly and results in a durable, high-quality roof that can withstand harsh weather conditions for many years.
The first step in the roof replacement process involves an inspection of your existing roof. This helps to identify any underlying issues such as leaks or structural damage that need to be addressed before starting the actual replacement work. A professional roofer will check for signs of water damage, mold growth, rotting wood, or any other problems that could compromise the integrity of your new roof.
After identifying all potential issues during the inspection phase, you’ll need to choose a roofing material suited to your Aura Home Exteriors Edison‘s style and location. Asphalt shingles are popular due to their affordability and durability; however, they may not be suitable for homes in areas with extreme weather conditions. Other options include metal roofing, slate tiles or wood shakes which offer unique aesthetic appeal but come at a higher cost.
Once you’ve chosen your preferred roofing material, it’s time for removal of the old roof. Depending on its condition, this might involve tearing off all existing materials down to the deck or only replacing damaged sections. It’s crucial during this stage to dispose of waste responsibly following local regulations.
With your old roof removed and disposed of properly, it’s now time for installation of underlayment – a waterproof barrier installed directly onto your roof deck. This layer provides additional protection against water intrusion into your home should there be any breaches in your shingles.
Next comes installation of flashing around chimneys or vent pipes protruding from your rooftop – these areas are particularly susceptible to leaks so extra care is required here.
The final step is laying down new shingles according to manufacturer instructions ensuring each one overlaps correctly with its neighbors creating an effective barrier against rainwater penetration into your home interior.
After the roof replacement process is complete, it’s important to conduct a thorough cleanup of your property. This includes removing all roofing debris and conducting a magnetic sweep to pick up any leftover nails that could pose a safety hazard.
Lastly, ensure your roofer conducts a final inspection of the new roof to verify that everything has been installed correctly and there are no issues that need addressing. A warranty should also be provided on both materials and workmanship for your peace of mind.
In conclusion, while replacing your roof can be an intimidating project, with careful planning and execution following these steps will ensure a smooth process resulting in a sturdy, long-lasting rooftop enhancing both curb appeal and value of your home.
Aura Home Exteriors
180 Talmadge Rd Suite 447, Edison, NJ 08817
833-498-0928